Friday, November 28, 2014

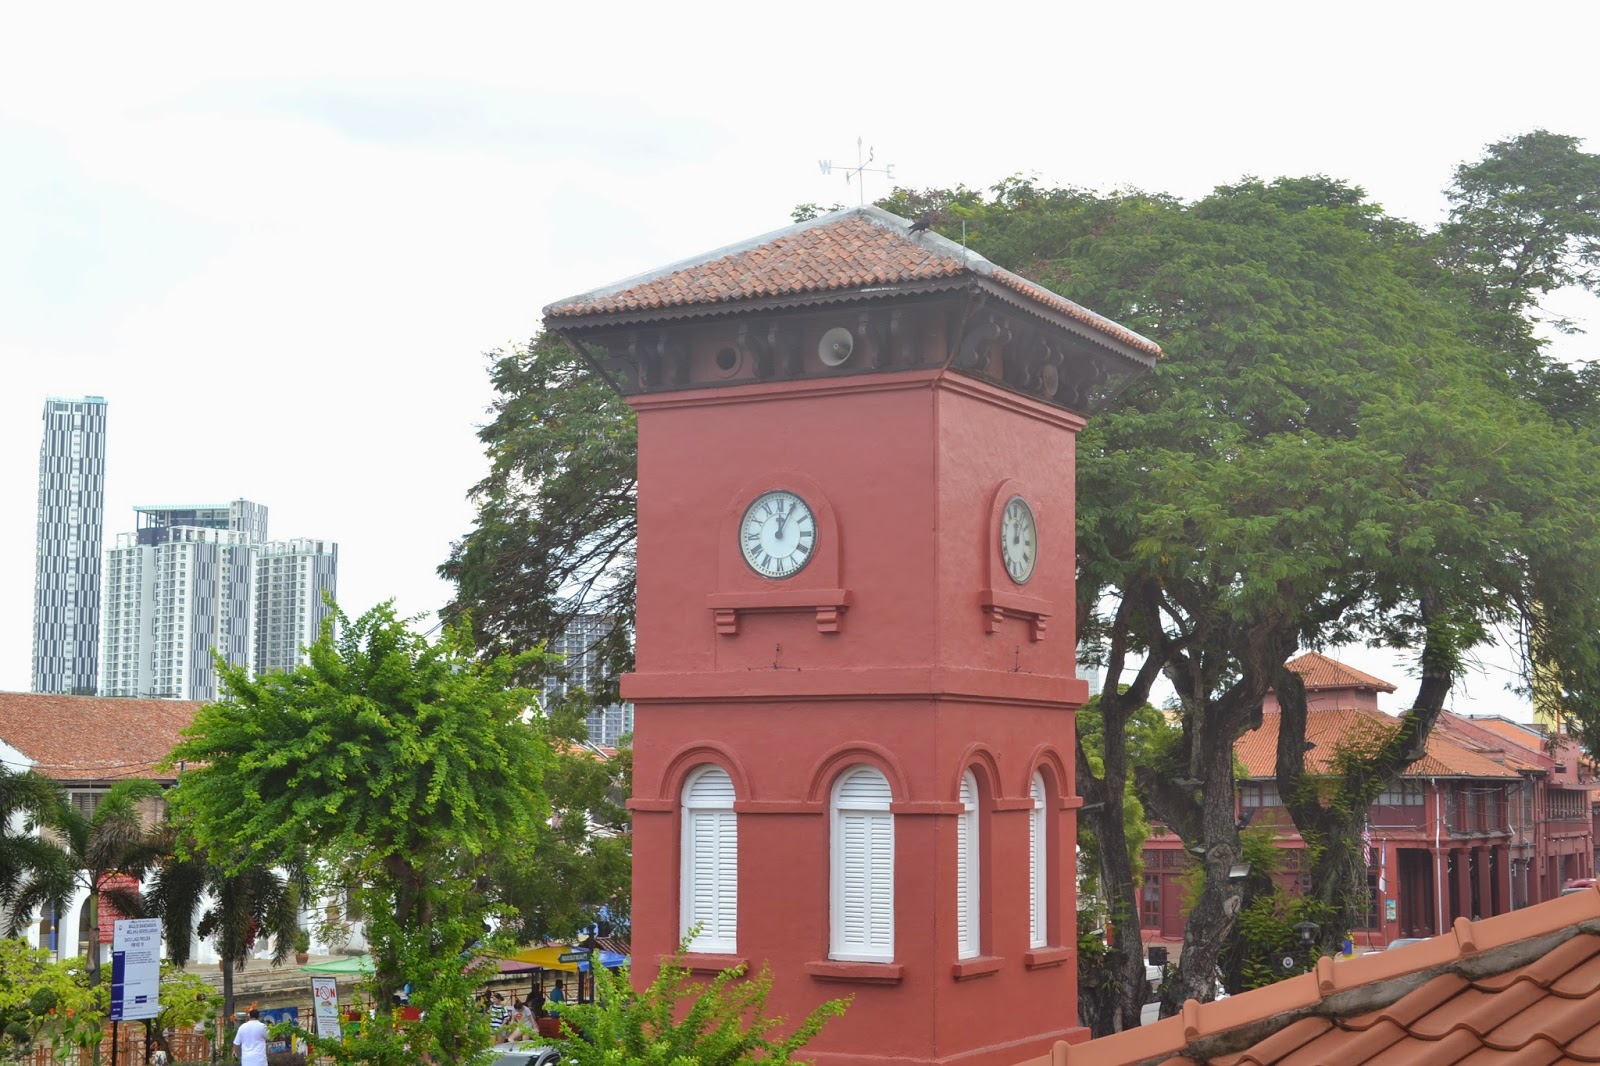
Trip to Melaka 21 November 2014


Keutamaan Menuntut Ilmu :


ابن عبد البر عن أنس قال: قال رسول الله : اطْلُبُوا العِلْمَ وَلَوْ بِالصِّينِ، فَإِنَّ طَلَبَ العِلْمِ فَرِيضَةٌ عَلَى كُلِّ مُسْلِمٍ إنّ المَلائِكَةَ تَضَعُ أَجْنِحَتَهَا لِطَالِبِ العِلْمِ رِضَا بِما يَطْلُبُ

Anas ra. berkata: Rasulullah saww. bersabda: “Tuntutlah ilmu walau dinegeri cina, sebab menuntut ilmu agama itu wajib atas tiap orang muslim, sesungguhnya malaikat menghamparkan sayapnya pada orang yang menuntut ilmu karena redha (suka/senang) dengan apa yang dituntutnya (dicari).” (HR. Ibnu Abdul Barr, Kitab Irsyadul ‘Ibad)

Alhamdulillah....trip to Melaka  akhirnya menjadi realiti...dapat booking bas ....wah seawal pagi keluar  dari Bandar Penawar...pukul 6 pagi...nak jumpa kat parking tasik Ilmu pukul 7.30 pagi....niat kerana mu ya Allah kami melangkah ke UTM...


Wajah-wajah ceria nak pegi Melaka photoshoot yeehaaa

Jam 12.00 tengahari kami sampai kat Melaka......bermula lah episod menangkap gambar.....
cuaca cerah alhamdulillah...

Gambar-gambar yang sempat diambil   di Bandaraya Bersejarah.......


ok thats all thank you see u soon...............


Week 11


Bersua kembali ke minggu yang ke 11...diam tak diam da 11 minggu ulang alik ke UTM...3 kali seminggu...bermakna 33 kali  dah...ohhh perjalanan masih jauh...bertahan bertahan....

ok minggu ini presentatation from Efa,Shaha n Faeza....semangat diorang nie.......

tajuk nya image manipulating II

Producing Image Borders
Integrating Techniques: Speed and Time effect
Combining Images
Special effect and Panoramic image

 Combining Image


 Menggunakan tools  magic wand,,Rectangular marquee tools,Transform...

Image di bawah digabung menjadi seperti di atas..


Teknik Effect dalam photoshop


Retouching

Correct the red eye using  photoshop


also we can retouching  such as remove  the unnecessary part in the picture using sport healing brush tool,Patch tool.Stamp tool is used to replace the target area with pixels from where your alt click


Stamp tool allow us to duplicate object,for example add more teeth to the baby...


Wah...kagum nye  dgn photoshop.....seumur hidup baru mengenali photoshop....mcm-mcm boleh buat dengan photoshop....tq Allah bagi peluang belajar....semoga bermanfaat...ngantuk........zzzzzzzzzzzzzzzzzzzzzzzzzzzzzzzzzzzzzzz...jumpa lagi nanti....

Tuesday, November 25, 2014

Week 10


Selamat kembali kita semua ke medan ilmu....ilmu memang luas....amat beruntung orang yang diberi kesempatan menimba ilmu....

Daripada Anas bin Malik r.a meriwayatkan bahawa Rasulullah s.a.w bersabda:
"Menuntut ilmu adalah fardu atas setiap orang Islam dan penuntut ilmu akan didoakan keampunan oleh semua termasuk ikan-ikan di lautan".

Semoga kita berada di golongan tersebut...

okaey back to story.....

minggu group En Rasdi n the gang present tajuk nya  ialah : Manipulating Digital Image (PHOTOSHOP)

IMAGE TRANSFORMATION
hue and saturation
modifying image color
modifying image lighting

What can photoshop do to manipulate your image

-Refers to the process of revising the structure of an object from various aspects such as perspective , size, angle of view and so on .
-Through this process , the uniformity of the images can be generated either from the size , view , lighting and so on in order to form a more perfect image 
-This process also allows an object or image is placed at an angle or location needed in a more realistic situation and meet the requirements 
-There are many type of image transformation like scale, rotate, skew, distort, perspective, warp and flip.

 Example

Flip Vertical


Warp


Perspective


MODIFIYING IMAGE COLOUR

-To change/ adjust/replace certain colors in the image

3 simple ways to change the color of an object in Photoshop
-Using the Color Replacement Tool
-Using the Selective Color
-Using the Replace Color


USING HUE / SATURATION

Hue is The colour in the image
Saturation is The intensity or richness of that color

What is the function of hue/saturation in Photoshop?

-To adjust colors in an image that appears slightly out of phase or skewed toward a color
-To create stylistic changes by dramatically changing colors in an object

Modifiying the lighting
-To To trick people
-perceive certain period of a day
-To enhance the picture


okeyyy.....that all folks....end of this week pagi melaka...nak amik gambar.....


Sunday, November 16, 2014

Week 9


Masuk ke minggu ke 9 dah..alhamdulillah...minggu ni...kami belajar dgn dr j. sebelum dr memulakan kelas dr kata dia nak dengar presentation dulu...ok group kami yang present minggu nie...

Basic Image Editing....

presenter Kak Zaharah


Free Photo Editing Software

Free Photo Effects
Download Photoscape
Photo Collage Software
Free Picture Editing
Download Photo Editor
Best Photo Editor
Picture Editors
Free Video Editor
Image Editor

Focus on Photoshop

What can you do with photoshop

Listed below are some of the most used capabilities of the better graphic manipulation programs. The list is by no means all inclusive. There are a myriad of choices associated with the application of most of these features.

Image editor feature

Sharpening and softening images
Slicing of images
Change color depth
Contrast change and brightening
Color adjustments
Stamp Clone Tool


Photoshop

Adobe Photoshop is a raster graphics, editor developed and published by 
Adobe Systems for Windows and OS X
It can edit and compose raster images in multiple layers and supports masks, alpha compositing and several colour models including RGB, CMYK, Lab colour space (with capital L), spot colour and duotone.

Photoshop has vast support for graphic file formats but also uses its own PSD and PSB file formats which support all the aforementioned features

Programs developed and distributed independently of Photoshop that can run inside it and offer new or enhanced features.

So what exactly can you do  with Photoshop?

Well, like any image-editing program, you can use Photoshop to "alter" images like photos, downloaded icons, or scanned artwork


EXAMPLE OF EFFECT WITH PHOTOSHOP


Image selection and editing

Image Size


Compressed  Image


Slightly compressed spider image

Over compressed spider image

Resolution

Image resolution is the detail an image holds. The term applies to raster digital image s, film images, and other types of images.. 
Image resolution can be measured in various ways. Basically, resolution quantifies how close lines can be to each other and still be visibly resolved


Resolution Illustration

Pixel resolution


Resolution is the capability of the sensor to observe or measure the smallest object clearly with distinct boundaries. 
There is a difference between the resolution and a pixel. 
A pixel is actually a unit of the digital image. 
Resolution depends upon the size of the pixel. With a given lens setting the smaller the size of the pixel, the higher the resolution will be and the clearer the object in the image will be. 
Images having smaller pixel sizes might consist of more pixels. The number of pixels correlates to the amount of information within the image.


ok lah....cukup setakat ini......


Week 8


Semester break da habis....seminggu jeh....sekejapnye...nape tak lama sikit...huhuuuu..
Ok sambung kelas visual...kali ni kelas start pukul 3.30 ptg...dengan En Fuad....dia terangkan cara cara amik gambar kat studio...


Encik fuad menerangkan kepada kami kaedah mengambil gambar kat studio..


sakan semua berposing.......setelah berposing... kami pergi ke makmal untuk mendengar presentation dari kumpulan Jonas.


HAMIZAH BINTI EMRAN
JONES JOYNER JUGAH
KHAIZATUL AKHMAR BINTI AMAN

Para pembentang

tajuk nya ialah : Studio photography

 What is sudio photography..

A studio is an artist's or worker's workroom, or the catchall term for an artist and their employees who work within that studio.
A photographic studio is a business owned and represented by one or more photographers, possibly accompanied by assistants and pupils, who create and sell their own and sometimes others' photographs.


Studio equiptment


C-STAND

CUTTER (aka FLAG

Reflector

----STUDIO PHOTOGRAPHY----

Still Life Photography


Still life subject is an inanimate object but other subjects are loosely termed as still life as well. These include flowers, food, etc. They are life forms but they don’t move.
Because the subjects are smaller, lighting coverage is less and alternatively less power is needed. 
Still life setups can be lit with just daylight from a large window and/or the use of one or two flash guns with the aid of a few large white cards to utilize as reflectors.


10 Tips to Get Started with Still Life Photography


1. Getting Started

Contrary to common perceptions, you don’t need a studio or a fancy location to make a start with still life photography. You can begin by simply using a space at home, such as a table placed by a window, along with a simple backdrop and utilizing a couple of lamps.

2. Choosing the subject

Find something simple but interesting to start with. Please don’t feel like you have to take photos of fruit or flowers just because everyone else does, think outside the box without being overly ambitious.
Try to avoid reflective surfaces such as glass and metal to begin with, as they will be extremely difficult with regards to lighting. Once you’ve mastered the single object shots, try mixing it up, combine objects of contrasting shape, colour, texture and see what you can come up with

3. Lighting

Using standard lamps can work extremely well if used effectively. 
Try multiple positioning set ups, not all light has to come from the front of the object, side and back lighting will add interest, shadows and depth to the shot. 


4. Tripods and Angles

Depending on your lighting situation, you may or may not need to use a tripod and shutter release. 
This set up will also allow you to use slightly longer shutter speeds than usual to ensure a small aperture allowing the image to be in focus front to back.
Be sure to vary the angles and heights at which you are shooting.
Try shooting at the level of the subject or try a bird’s eye view, looking down onto the subject, but be careful if you are moving around not to cast any shadows on your subject

5. Get the backdrop right

Having a suitable backdrop for your subject matter will play a crucial role in the overall success of your shots. 
Keep it nice and simple, so it doesn’t interfere with your subject.  (example : plain painted wall or a large sheet of white or plain colored paper)
How your choice of background contrasts the subject, do you want a neutral background, or are there tones that may work in complimenting the shades within your subject must be consider. 
For smaller objects, there no need for backdrop as such, but instead require a surface to place the items on, for which something like black velvet, as it absorbs light and looks like a solid black surface.

6.Composing the shot

The  compositional  element of your still life work is an absolutely crucial part of ensuring that your work is engaging and unique. Consider the rule of thirds, how can that be applied to your shoot to create a strong composition. Ensure there are no distractions within the frame, just the subject and the backdrop.

7.Taking all day over it

Set up your subject, lighting, backdrop and camera, try a few shots, then move things around a bit and have another go. 

8. Now it’s your turn!

OK.......NOW ..my turn to do still life photography......


ok laa...that s all tatata....tititi..tututuuu..see u next